Why I use External DNS
Why I use External DNS
A Year ago. I had to add too many dns record by myself to DNS Server. So I think how to add dns record automatically.I created bash script and run with cron every 5s. It is ok at On-premise. But not for cloud services. So I google “How can I add DNS record blah blah”. Finally, I found External DNS .I started using External DNS for the first time. It is easy to manage the DNS Records on the AWS’s Route 53, and other DNS services like Cloudflare and so on. You don’t have to worry about creating too many DNS records by yourself :P.
How it works.
External DNS is great tools for Kubernetes ingress. It can be used to automatically create DNS records when deploy ingress in Kubernetes Cluster.Add Ingress class’s loadbalancer address as A record’s value. So let’s start with a simple example.
Pre - Request
- aws cloud practitioner level
- helm basic level
- argocd basic level
- kubernetes basic level
Example with Route 53.
In this example, I will show you with helm and argocd. so you can use other tools and IaC like terraform.
I will use my domain test.mgou.devfor this example.
Please create Hosted Zone in route53.

You need to create AWS POLICY with following JSON.
{
  "Version": "2012-10-17",
  "Statement": [
    {
      "Effect": "Allow",
      "Action": [
        "route53:ChangeResourceRecordSets"
      ],
      "Resource": [
        "*"
      ]
    },
    {
      "Effect": "Allow",
      "Action": [
        "route53:GetChange"
      ],
      "Resource": [
        "arn:aws:route53:::change/*"
      ]
    },
    {
      "Effect": "Allow",
      "Action": [
        "route53:ListHostedZones",
        "route53:ListResourceRecordSets",
        "route53:ListHostedZonesByName"
      ],
      "Resource": [
        "*"
      ]
    }
  ]
}
You can also allow permission only one dns zone per account. But I just used one account for all zone for this example.
Create IAM account and attach above Permission.
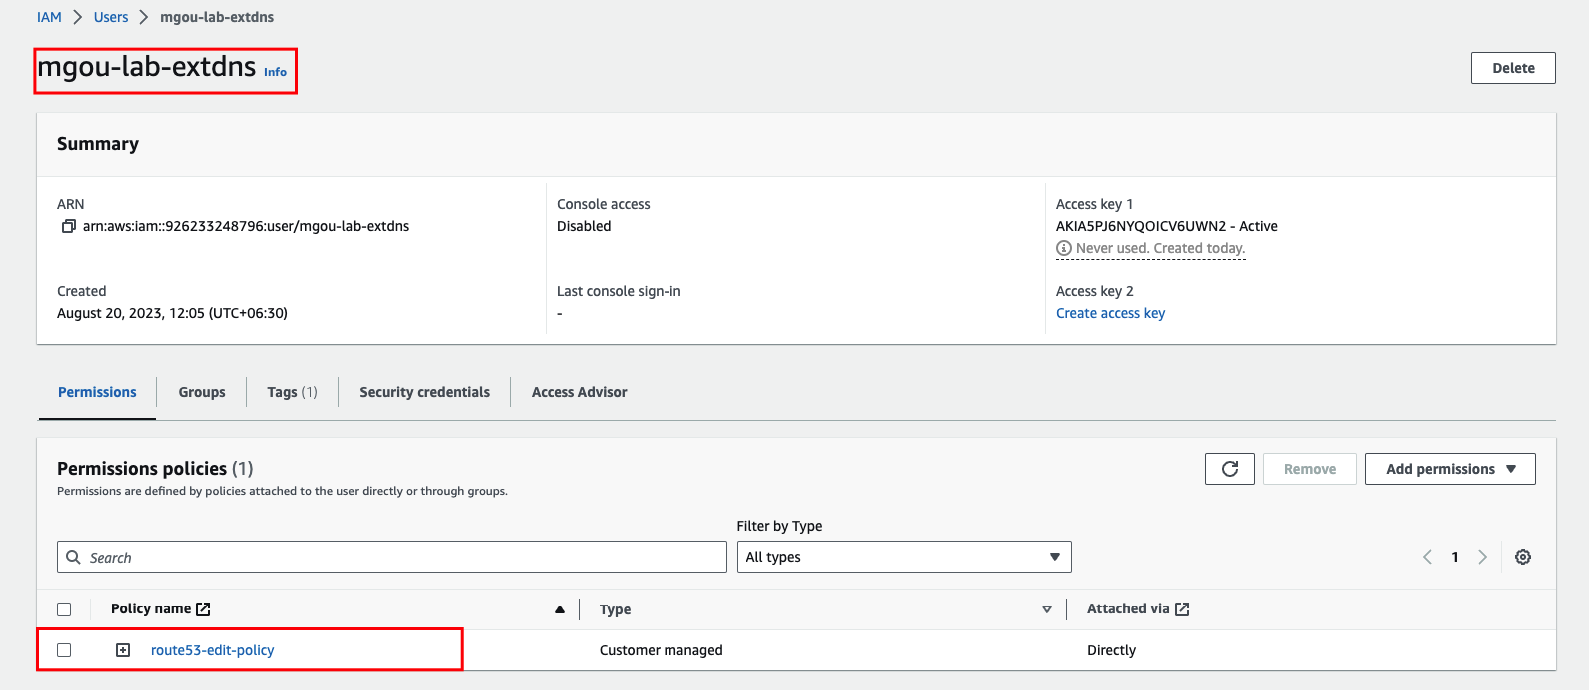
And Than please create AWS ACCESS KEY and SECRET. And Note this Key and Secret.
So finished the aws part. Next is External DNS HELM. Let’s prepare!.
I will use Argocd and Own Git REPO. I assume you already know these parts.
Add Bitnami Helm Repo
helm repo add bitnami https://charts.bitnami.com/bitnami
Pull helm released package.
helm pull bitnami/external-dns
Extract Pulled package.
tar -xzf external-dns-6.23.6.tgz
let’s update helm values.yaml. Update this block in values.yaml.
aws:
  ## AWS credentials
  ## @param aws.credentials.secretKey When using the AWS provider, set `aws_secret_access_key` in the AWS credentials (optional)
  ## @param aws.credentials.accessKey When using the AWS provider, set `aws_access_key_id` in the AWS credentials (optional)
  ## @param aws.credentials.mountPath When using the AWS provider, determine `mountPath` for `credentials` secret
  ##
  credentials:
    secretKey: "<Your AWS Access Key Secret>"
    accessKey: "<Your AWS Access Key ID>"
    ## Before external-dns 0.5.9 home dir should be `/root/.aws`
    ##
you can also use kubernetes secret if you don’t want to add the AWS secrets in vaules.yaml
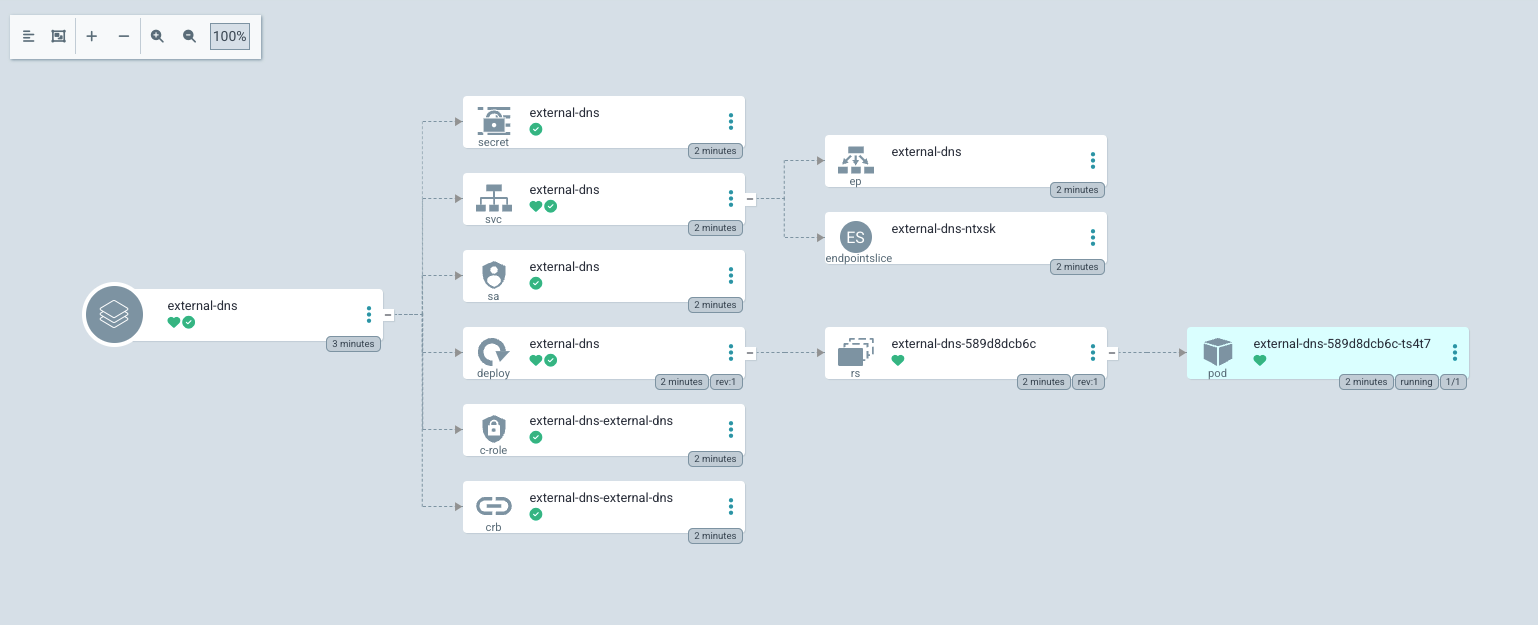
and than you can use any method to Deploy. I used Argocd.
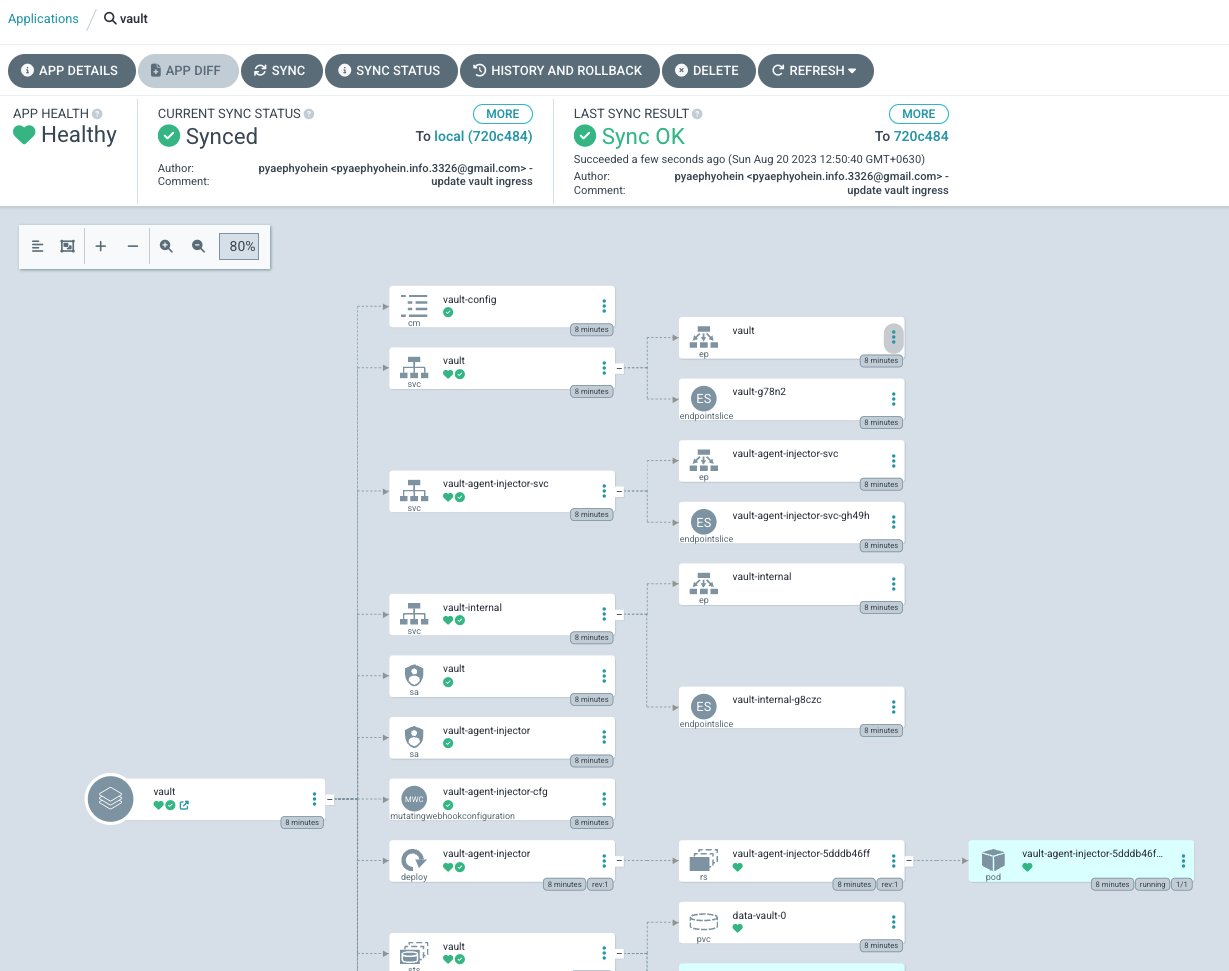
So let’s Test. I have to test vault. So I just deploy the Vault with ingress vault.test.mgou.dev. I assume you already know these parts. Update the vault’s vaules.yaml.
  ingress:
    enabled: true
    labels: {}
    annotations: {}
    ingressClassName: "nginx"
    pathType: Prefix
    activeService: true
    hosts:
      - host: vault.test.mgou.dev
        paths: []
    extraPaths: []
And Deployed with ArgoCD.
After Deploy Vault Let’s check External DNS Pod’s logs. It said successfully updated.

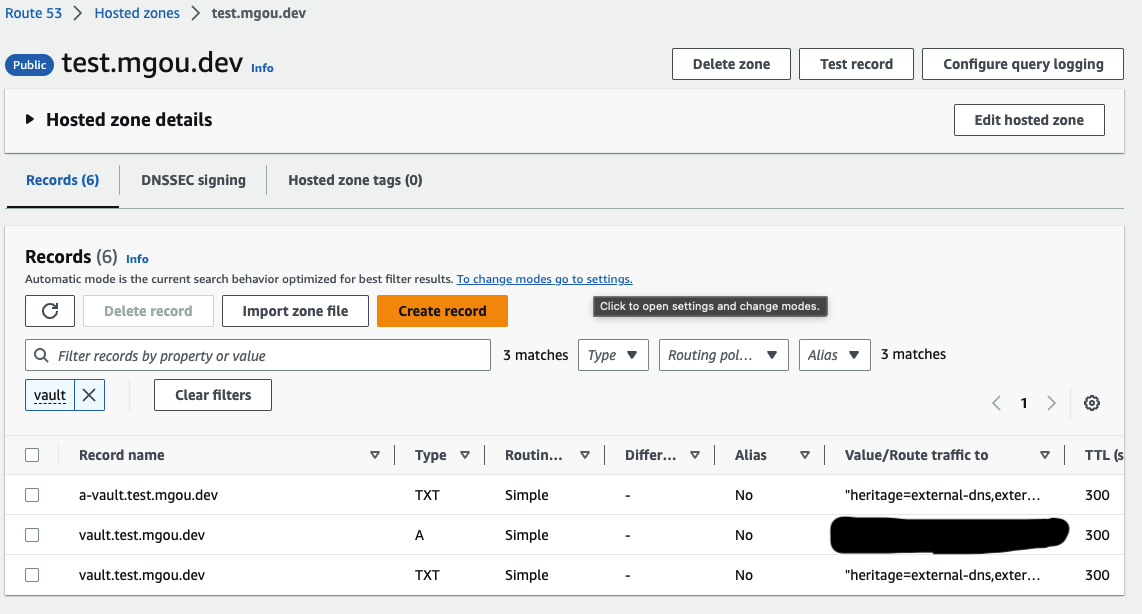
Let’s check DNS records in Route 53. They are created. Vaule will be ingress class’s loadbalancer address.
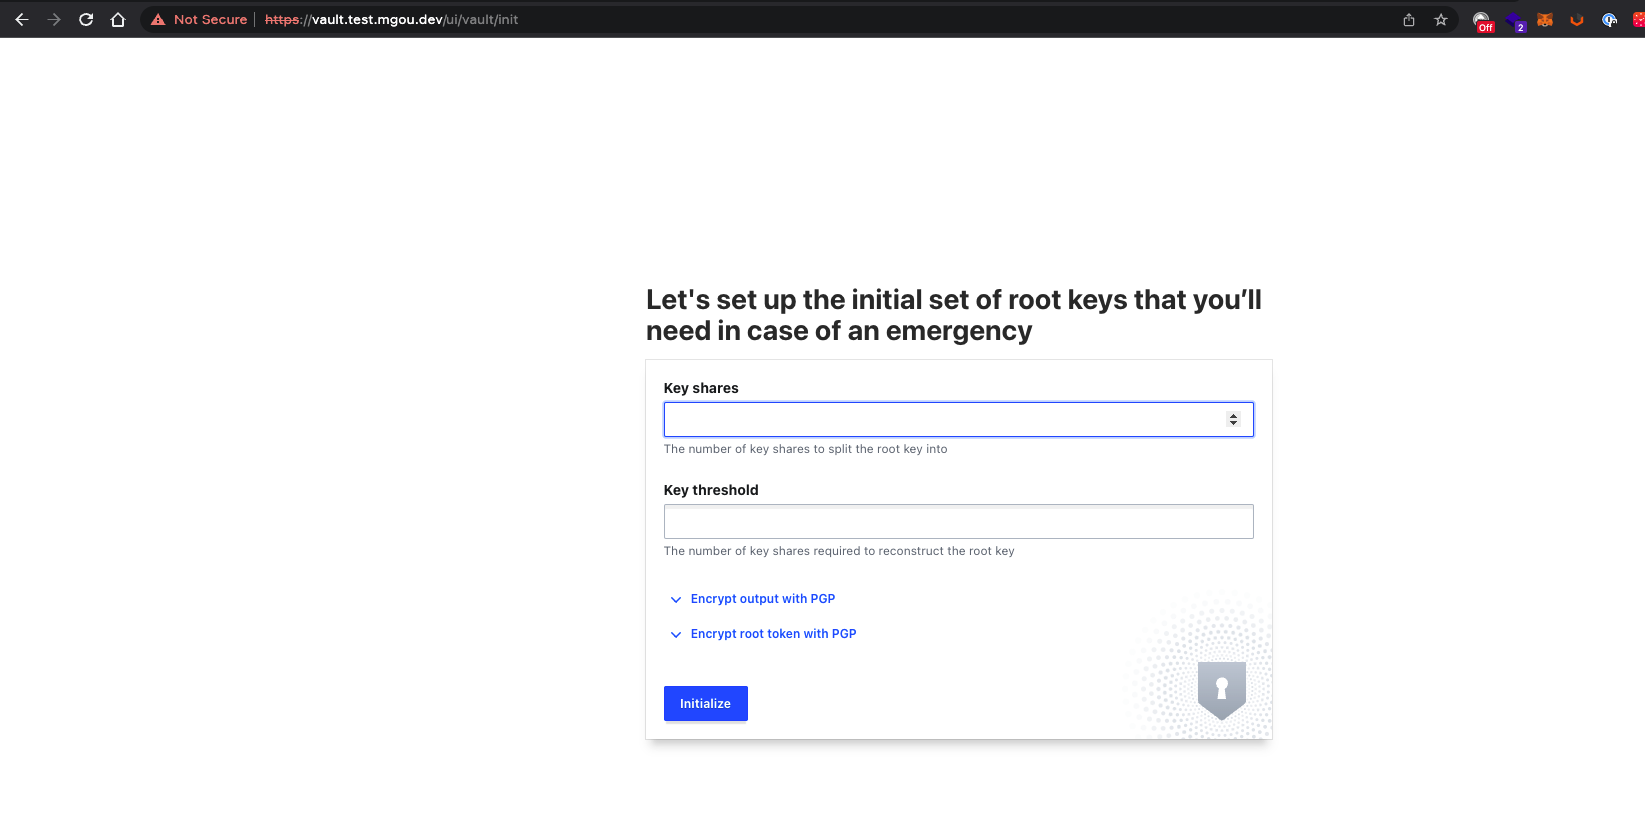
Now we can access to vault Home Page. with vault.test.mgou.dev
Next week, Let’s test with Cloudflare.